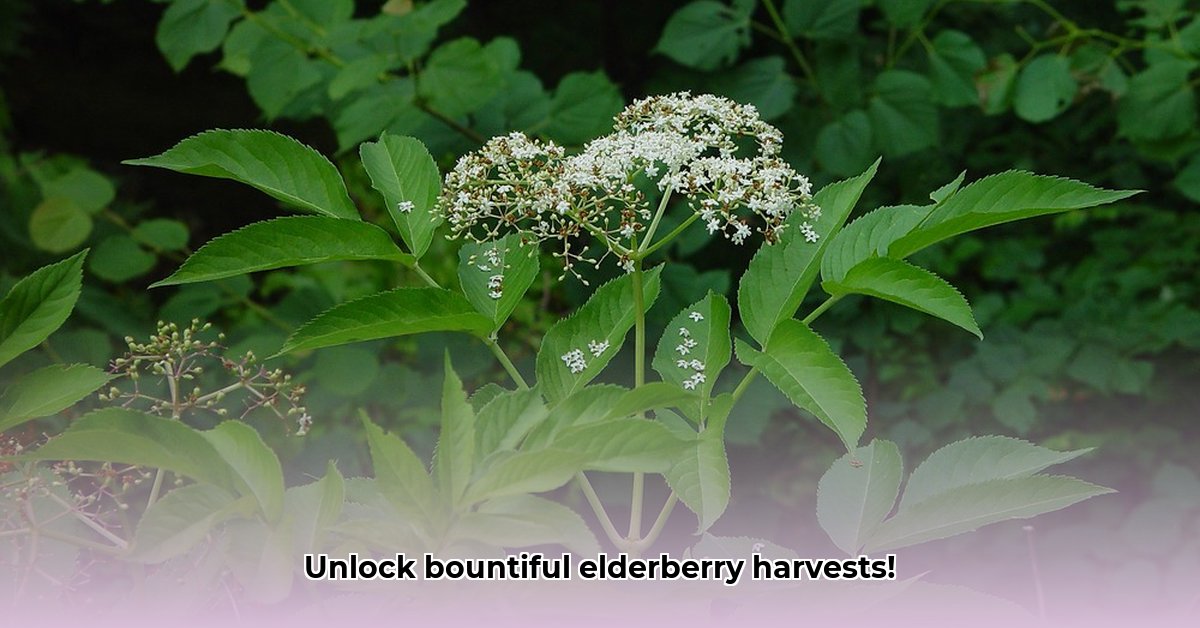
Wat is die Nederlandse naam vir Sambucus nigra? It's "vlierbes," or simply "vlier." But knowing the name is just the first step! This comprehensive guide will walk you through everything you need to know to cultivate a thriving elderberry patch, ensuring a bountiful harvest year after year using sustainable practices. Whether you're a seasoned gardener or a complete beginner, this guide will equip you with the knowledge and skills to grow your own delicious and healthy elderberries. To attract pollinators crucial for a good harvest, see this guide.
Getting Started: Planting Your Elderberry Patch
Choosing the right location is crucial for a successful elderberry crop. Elderberries, or vlierbessen, prefer a spot with well-drained soil; they don't like having "soggy feet." Aim for a slightly acidic to neutral pH (around 6.0 to 7.0). Before planting, enrich your soil with compost to improve its structure and nutrient content. This will give your plants the best possible start. Dig a hole twice the width of the root ball of your elderberry sapling. Gently place the sapling in the hole, ensuring the top of the root ball is level with the ground. Backfill, water thoroughly, and you’re on your way to a flourishing elderberry patch! Don't you think that's an exciting start to a fulfilling gardening project?
Nurturing Your Elderberry Treasure: Ongoing Care
Consistent watering is key, especially during dry spells. However, avoid overwatering, which can lead to root rot. Allow the soil to dry slightly between waterings. A simple finger test can help determine soil moisture. Fertilizing your elderberries is equally important. A balanced fertilizer with a good NPK ratio (Nitrogen, Phosphorus, Potassium) is recommended, with various formulas providing good results (e.g., 10-10-10 or a 20-20-20 blend). However, a soil test is advisable to determine the specific nutrient needs of your soil. This prevents over-fertilization, which can be as harmful as under-fertilization. Remember, a little goes a long way! When it comes to pest and disease control, prioritise organic methods. Regular inspection is crucial for early detection and prompt treatment.
Pruning Your Elderberry: A Guide to Abundant Harvests
Pruning shapes your elderberry's growth and yield. Two main methods exist: annual cutback pruning and selective pruning.
| Pruning Method | Description | Pros | Cons |
|---|---|---|---|
| Annual Cutback Pruning | Cut all branches back to a few inches above ground level annually. | Encourages vigorous new growth, boosting berry production. | Can temporarily affect the bush's aesthetic appeal; more labour-intensive. |
| Selective Pruning | Remove older, less productive, or diseased branches, keeping younger ones. | Maintains bush shape and size while maximizing berry yield. | Requires more experience to identify branches for removal. |
(Imagine diagrams here illustrating both pruning methods)
Annual pruning is ideal for young plants or those seeking maximum yield, while selective pruning suits established bushes, maintaining shape and maximising berry production. Choosing the right method depends on your elderberry's age and your gardening goals.
Harvest Time: Reaping the Rewards
Harvest your elderberries when they are plump, dark purple, and almost bursting with flavour – typically late summer or early autumn. Sustainable harvesting involves careful picking to ensure future harvests. Once harvested, there's a world of possibilities: jams, wines, and even medicinal uses. Always research safe and appropriate medicinal applications.
Troubleshooting: Common Elderberry Challenges
Even experienced gardeners face challenges. Aphids and powdery mildew are common issues. Combat these using organic methods like insecticidal soap or neem oil, rather than harsh chemicals. Yellowing leaves may indicate nutrient deficiencies or poor drainage. Regular monitoring helps in early detection and timely intervention.
Key Takeaways: A Summary of Sustainable Elderberry Cultivation
- Elderberries (Sambucus nigra) are known as "vlierbes" in Dutch.
- Well-drained soil with a slightly acidic to neutral pH (6.0-7.0) is ideal.
- Balanced fertilisation (e.g.,10-10-10 or 20-20-20 NPK ratio) is recommended, but a soil test is advisable.
- Regular pruning is crucial for healthy growth and increased yields.
- Harvest in late summer/early autumn.
- Prioritise organic pest and disease control for sustainable practices.
Growing elderberries sustainably is achievable with the right approach. With patience and attention to these guidelines, you'll soon be enjoying the delicious and healthy fruits of your labour. Happy gardening!